Shooting an arrow from a bow isn’t as easy as they make it look in the movies.
Even once you’ve mastered drawing the crossbow, you still have to focus on things like adjustments, sights, arrow material, bow strength, and arrow size. In this article we’ll break down the best tips for how to adjust and sight a crossbow.
Table of Content
Our Tips
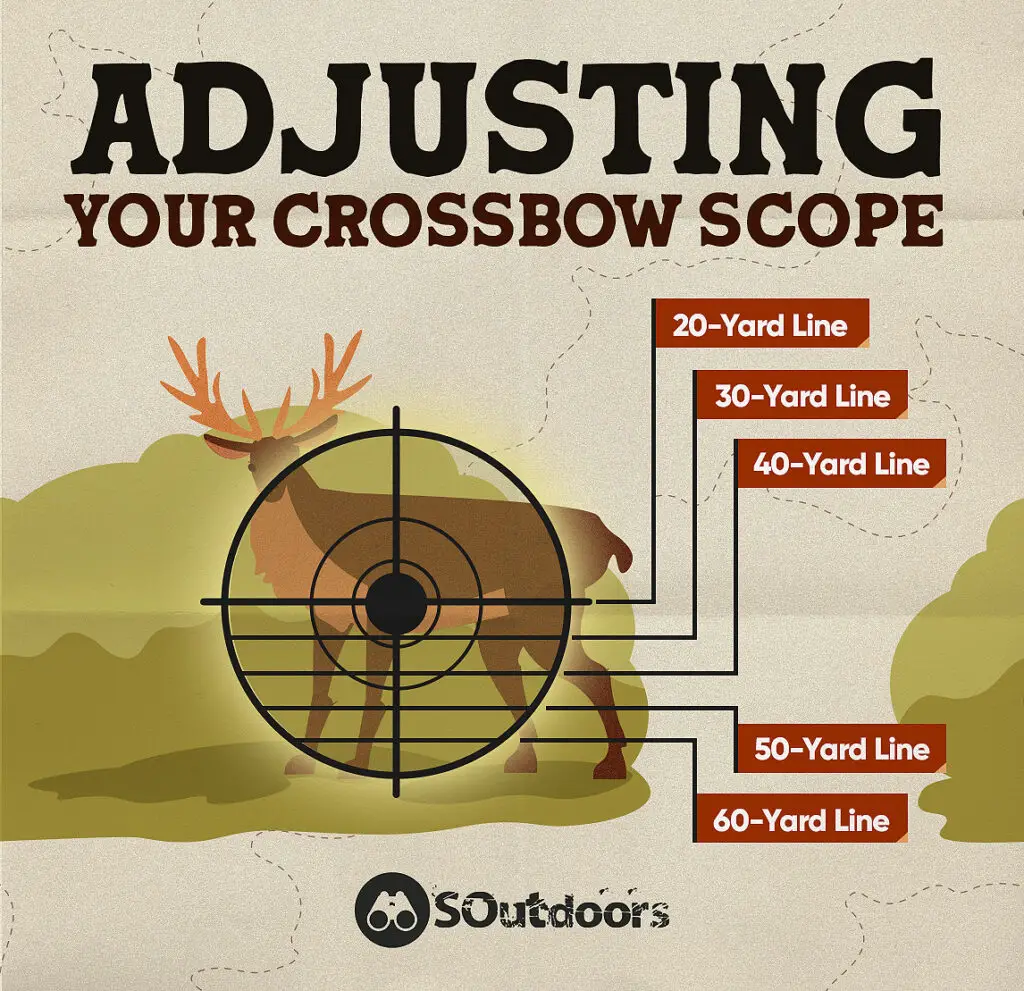
1. Adjusting Your Crossbow Scope
You should shoot 500-1000 arrows before you attempt to sight your scope.
If you can’t shoot tightly grouped arrows and your grouping is off then you aren’t ready to use a sight. When you add a scope, follow the manufacturer’s directions.
The dot at the top of the scope represents 20 yards out. The middle and lower dots represent 30 yards, respectively. The number and type of marks depend on the scope and the crossbow’s intended use. You need to “zero” the top dot, or calibrate it, to ensure that it is set for 20 yards.
Your scope should have a wind adjustment know and an elevation adjustment knob. These knobs allow you to adjust the scope depending on height and wind conditions. Each adjustment is followed by a “clicking” sound, which represents a ¼” adjustment at a 100-yard distance, and the other click represents a 1/20” adjustment at a range of 20 yards.
To sight your crossbow, you need to make sure that the weapon does not move at all during firing.
Stands 20 yards from your target. Shoot the target using the top reticle three times, and just barely pull the trigger to avoid moving the crossbow. Repeat this action three times. Depending on where the arrows landed, you might need to remove the protection cape from the scope adjustment knobs. Use a screwdriver to adjust the settings. 20 clicks equals one full inch on the elevation, and counterclockwise 40 clicks equals a 2” change in the scope’s directional pattern.
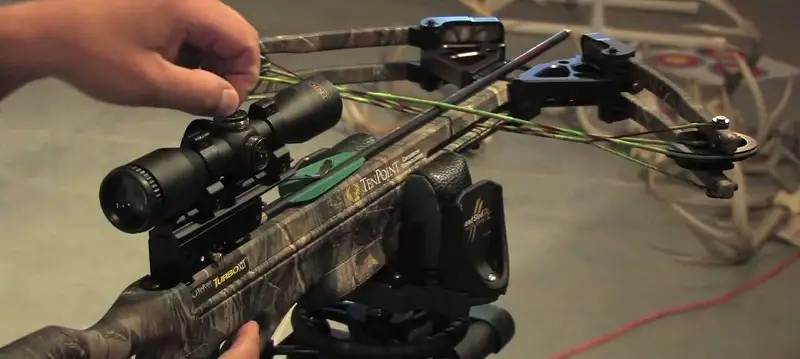
2. Mounting the Scope
Mounting the scope is relatively easy for most crossbows. It’s simple a matter of clasping the scope onto the gun, making sure it is secure, and making sure it doesn’t interfere with the gun in any way.
Scopes can be removed and replaced relatively easily, though you should consider things like size, weight, detection range, night-vision capabilities and more when shopping for a gun scope.
First of all, the gun and scope should be completely clean. The mounting system you choose should be compatible with your rifle. Your scope rings should also be compatible with the device.
Mount the scope as low on the rifle as possible. Usually, this is done using Torx keys, Allen wrenches or a screwdriver. Position the scope and tighten the top rings slightly, but leave them lose enough so the scope can move slightly.
Make sure the scope is far enough up on the gun that you won’t get any facial recoil. When the scope is in position then tighten the ring screws alternatively for the tightest fit.
3. Know the Different Types of Crossbow Scopes
For all intents and purposes of this article, there are four kinds of crossbow scopes:
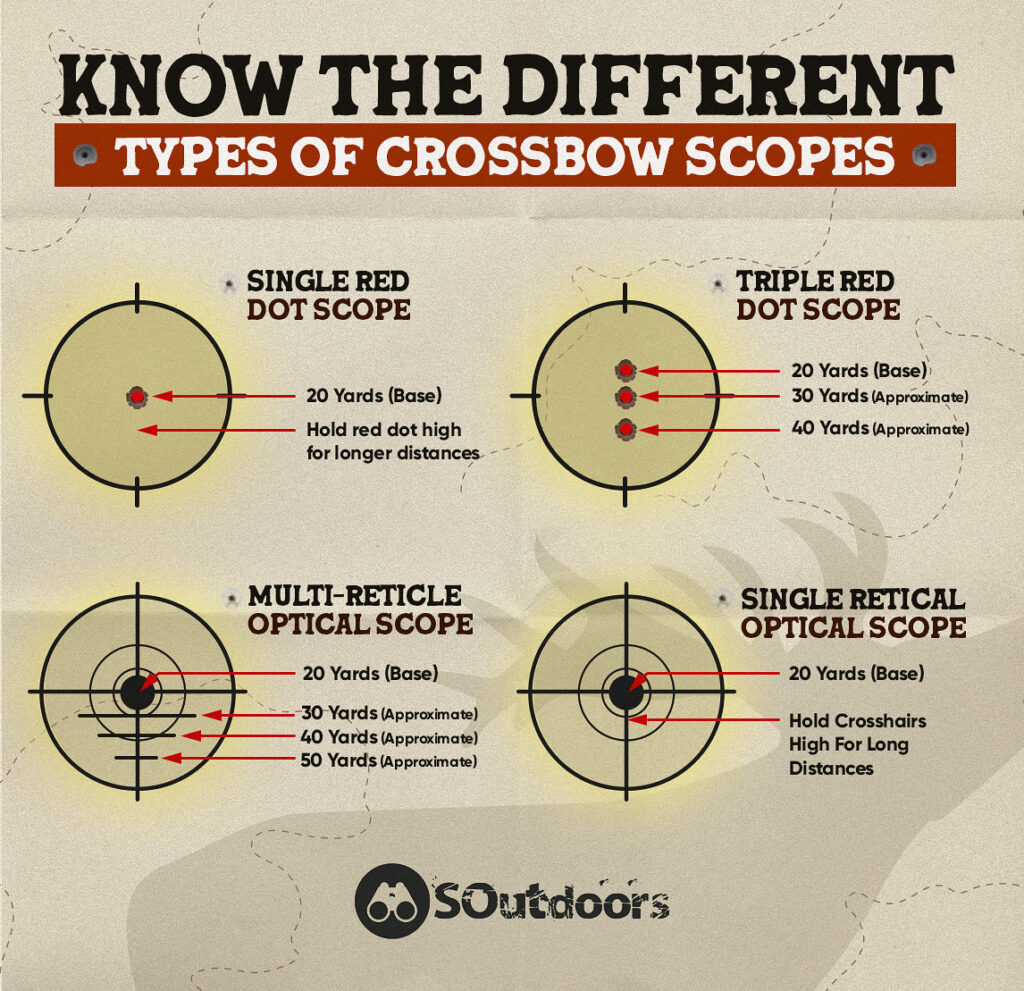
- Single Red Dot Scope – The red dot usually represents 20 years and the crossbow should be heightened or lowered to strike the target.
- Single Reticle Optical Scope – This scope also has a 20-yard marking, and it’s equipped with crosshairs. Upward crosshair movement equals a longer shot and this type of scope is also used for hunting animals that are on the run.
- Triple Red Dot Scope – This scope provides you with three points of reference. Apart from the standard 20-yard marker this scope also has 30 and 40-yard markers. In many respects, the markers are simply simulated spots due to factors like elevation, wind, and movement.
- Multi-Retical Optical Scope – This scope contains horizontal and vertical crosshairs, as well as three points of reference for distance (20, 30, 40 and 50 yards). The higher the crossbow is pointed the scope allows you to track the distance of the target.
4. Parallax & Accuracy
Parallax is often used in astronomy, photography, and 3D math. However, parallax is also extremely important to crossbow hunters.
Most of us have two eyes and the two eyes piece together everything and send a single image to your brain. This is why one-eyed shots are preferred. You can buy parallax adjusters, which are extremely important for ling range shooters and snipers.
Accuracy is the name of the game when it comes to crossbow hunting. You want to make a safe, clean kill. Otherwise, you could injure the animal (another hunter) or completely destroy the carcass.
5. Make Sure That All of Your Equipment is in Good Shape
If your scope is of then you’re going to get an incorrect reading every time.
Your laser sight should also be calibrated to make sure it’s providing you with the correct distance (new batteries and a reset button usually do the trick). You should also check your bow, strings, arrows, heads and other related equipment to ensure that a possible failure of one system wouldn’t affect the other mechanisms.
6. Wind & Elevation
Snipers aren’t just trained for accuracy in a vacuum – they have to be prepared for changing winds and elevation. If you’ve ever been crossbow hunting then you know that the wind can change at the drop of a hat. You always want to remain downwind from your prey to keep them from catching your scent or noise.
As far as elevation goes, you might be on a flat surface but what about your target and the difference in elevation between you and said target. Train with an expert to learn how to best use wind and elevation to your advantage.
7. Size, Length & Weight
You shouldn’t start off with a giant crossbow without experience.
Luckily, crossbows come in many sizes and you can properly learn how to operate these devices at a relatively young age. The length of the arrow is another key point.
Arrows that are too large can misfire and damage the bow itself. Arrows that are shorter than the manufacturer’s recommendations can also cause problems, so always be sure to check your owner’s manual and stock up on arrows of the right length.
Most standard arrows are between 15 and 22 inches. Additionally, arrowheads can be extremely heavy depending on what they’re made of, and they could crack or break the bow if fired incorrectly. Arrows are usually made of aluminum, carbon, or an alloy of those two products.
When it comes to the arrow, things like weight and size matter, too. A heavy arrow may provide you with greater velocity, but a lighter arrow is easier to shoot but it might not be as accurate. Arrows are usually made of steel, a far cry from the wood and stone arrowheads used centuries ago.
Conclusion
Increasing your target hit rate with a crossbow isn’t as hard as it might seem at first, as long as you follow the 10 aforementioned steps.
Not everyone can master the crossbow but there’s no feeling in the world like getting that perfect shot that you’ve been preparing for all season.
Which tips do you find the most helpful when adjusting and sighting a crossbow? We’d love to hear your questions and suggestions in the Comment box below.
awesome article! my son recently got into crossbows and I am trying to educate myself to make sure he is safe. thanks for sharing!!
This article is truly great it’s so helpful and needed to help setting the sights thanks
i have a barnette crossbow which i have put two different single retical scopes on this crossbow i am having a hard time to get the vertical cross hair to pull to the right and it is peaked outit always shoots to the left in the same area