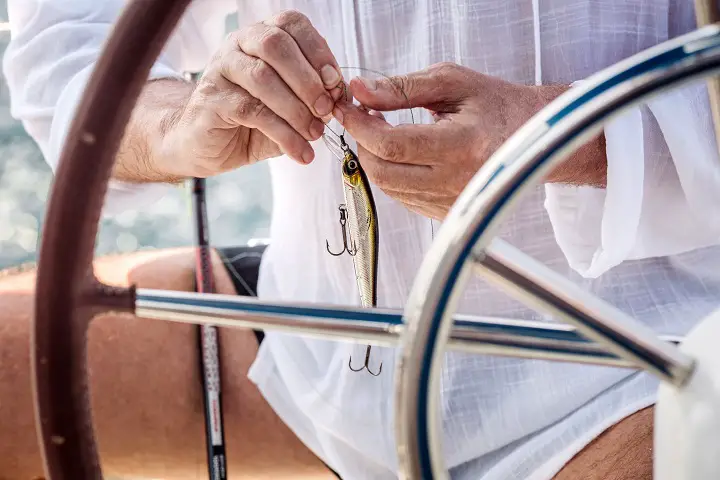
If you’ve been fishing for a long time, tying your fishing hooks might be as easy as one, two, three. For the novice, this might be a challenge considering the great number of fish hooks and tying methods that they should know and master. So, if you’re new to fishing, you may be asking why there is a need to know how to use these fish hooks.
Tying a fishing knot is the first fishing skill you need to master. Remember that your hook is what links you to the fish that you’ll be catching. This means that if you master your hook tying, you’ll have better fishing experience.
Fish hooks may look simple, but its invention drastically changed history. In the past, fishes were caught with the use of bare hands or spears. There were no baitcasting reels for fishing in saltwater and warm ice fishing boots, either. These limit the kinds of fishes caught as those found in deeper water are not reached easily. The very first types of hook devices were called gorges and these were used back in the Stone Age. These are small pieces of bones or wood that are sharpened on both ends. A line is then tied to the center of the device. These gorges function by embedding it in the bait, allowing the fish to swallow the entire gorge. When the line starts to jerk tightly, the gorge will lodge directly to the fish’ throat.
Later on, these traditional fishing hooks were improved and were carved directly from bones. When metals were invented, fish hooks were made even better. The best electric fillet knife was invented by this time, too. Today, these hooks are often sharpened to be more effective.
With the emergence of fish hooks, even those under thick sheets of ice can be located and caught. You can even get on your yacht or fishing boat with friends and enjoy fishing in further areas of the ocean. There are fishing specified gears, too. Now, fishing sunglasses absorb the reflected sun rays invented. Aside from that, people even go on deep-sea fishing to catch bigger fishes. Alongside the invention of fish hooks also came the invention and evolution of different kinds of fishing gears.
What Is a Fish Hook?
A fish hook is simply a piece of metal that holds the bait and links it to the fishing rod’s guides, hook keeper, reel seat, and handle. Surprisingly, all parts of a fish hook come with a name and these are the following:
- Point: This refers to the sharp bit that hooks and pierces the mouth of the fish.
- Barb: This is the reverse-facing spike preventing the fishing hook from breaking or coming loose.
- Throat: This is that hook section that you see running down from the hook’s point.
- Bend: This is where the hook starts to curve back.
- Shank: This is similar to the hook’s throat, only that it’s located at its blunt end
- Eye: If you see a ring that functions by attaching the hook to the line or lure.
- Gape: Also known as the gap, this refers to the distance between the hook’s shank and throat.
There are also 37 different sizes of fish hooks and its benefits depend on the kinds of fish hooks you use. The smallest one is size 32 and the largest is size 20/0. Currently, these are the different types of fish hooks available in the market:
- Weedless hooks
- Saltwater hooks
- Treble hooks
- Siwash hooks
- Worm hooks
- Double hooks
- Egg hooks
- Offset shank hooks
- Octopus hooks
- Bait hooks
- Aberdeen hooks
- Circle hooks
- Jig hooks
Benefits of Using a Fish Hook

The benefits and advantages of fish hooks depend on the kind of hooks you’re using. Among those types of hooks mentioned above, the most common one is circle hooks. Here are some of the benefits of circle hooks:
Circle Hooks Naturally Set the Hooks
Because of its very nature, circle hooks allow the natural setting of the hook. This means that the timing of the hook set is less crucial compared to normal. This makes circle hooks ideal for new, less-skilled, and even lazy anglers. Kids can even use these kinds of hooks.
You have to take, though, that when you use circle hooks, never set or jerk the hook the moment you get a fish bite. Otherwise, you’ll need to yank your hook right out of your catch’s mouth. Instead, you’ll need to reel down on your fish to allow the build-up of steady pressure. The same pressure is responsible for setting the hook naturally whenever it is pulled straight from the fish’s mouth.
As an alternative measure, if you use a stationary rod like a rod holder, the fish will race with your bait, and both the fish and rod will set the hook naturally for you. This kind of style aligns with the practices of most surf fishermen. If you’re one of the many who prefer to post their rods along the beach and in sand spikes, circle hooks will make things easy for you. You can still fish even if you’re chilling out with your folks over a can of beer. This relaxing fishing style is quite difficult with other hooks like Jig hooks.
Allows You to Catch the Fish at the Corner of Its Mouth
Circle hooks also make catching fish in the corner of its mouth easy. Since the fish hook is lodged strategically in the fish’s mouth corner, the line is kept away from the toothy or rough part of the fish’s mouth. Because of this, you get a better chance to land your catch before it chews through the fluorocarbon or mono leader. Since the leader is not on the fish’s mouth, the circle hook will permit you to use a lighter leader than what you’re comfortable using. This means that you’ll have more bites.
Circle Hooks Also Lessen Hook Swallowing
When you use circle hooks, you’ll significantly reduce the possibility of hooking a fish through his gut. The design of these circle hooks makes smaller gaps between the hook shank and point. The angle of the hook point is also inward. Because of these, there is a higher chance that the said hook can grab any part of the fish’s throat until the shank gets out of its mouth. When the shank eventually exits, the hook will roll back and pierce the fish’s mouth corner. Other benefits also include the following:
- These hooks can be used for both saltwater and freshwater fisheries to bring only lesser harm to the catch and release fish species.
- Circle hooks also come in various sizes. They can be as tiny as size 32 or as large as size 19/0. This only means that this kind of hook can be used to catch fish species that can be caught with the use of a hook and line.
How Does a Fish Hook Work?
Fish hooks are very much like the other tools we use daily. Say, for example, golf clubs; we know how these work and how golfers use it, but every golf club is separate and distinct from others when it comes to subsequent outcomes and specific functions.
In the same vein, fish hooks are varied with literally hundreds of patterns and types, all of which have specific uses and target certain fish species. Despite these differences, fish hooks are predominantly designed to do the following:
- Secure or hold the bait
- Deceive the fish
- Secure and catch the fish
The hook’s presentation of being attached to the line is more significant than the fishing hook. If the bait looks more natural, the higher the chances that the fish will accept such bait.
As a general rule, when you’re learning how to fish, you also need to wait it out and feel the fish’s weight before you set it in. If your catch seems to be cautious and you feel that it’s tapping your bait and fishing line lightly, you have to wait. If it’s not biting the bait, it means you need to give him time. Allow the fish to take your bait. After that, set your hook whenever you feel the fish’s weight. To achieve the best result, make sure to use a proper fish hook setup.
This is how you set up a fishhook:
- Search for common signs that the fish you’re aiming for is biting your bait. This happens when the bobber is completely pulled underwater and you feel a tug on the fishing line or when the fishing line begins to move.
- Reel your slack in a while, keeping the line tight with your lure or bait. Through this, you increase the sensitivity that allows you to feel whether or not the fish is biting the bait. This will also place you in a better hooking position.
- Setting the hook’s motion is also very simple. What’s hard to tell is whether or not you already have a bite or if what you’re feeling is a fish simply bumping into your bait or the water current.
Take note that the more you know about the fish species you like to catch and the more time you practice on water, you’ll eventually get better.
Types of Fish Hook Knots and How to Tie Them
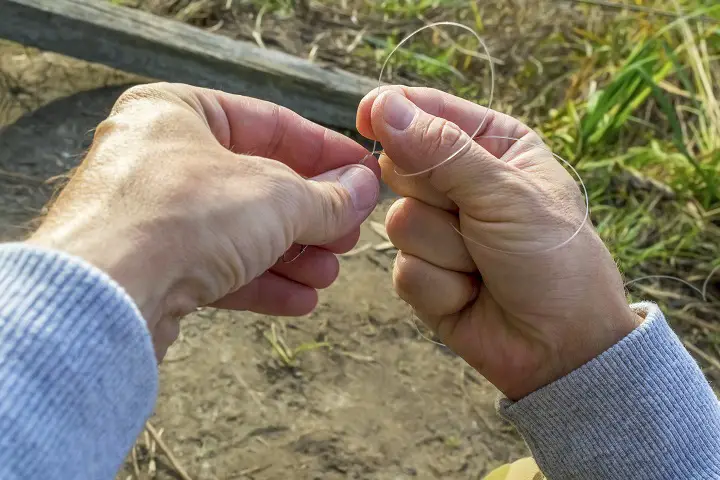
Here, we’ll be discussing the different types of fish knots along with the step by step procedure on how to tie them. Check out each guide below.
1. Improved Clinch Knot
This is a very popular and time-tested option for tying a monofilament line to a terminal tackle. Here’s how to make this knot.
Step 1 – Threading the end line
You need to thread the knot’s end line through the hook’s eye. Make sure to double back and make five or more turns around the standing line.
Step 2 – Bring the end to the loop
Once done, you need to bring the line’s end back through the loop that first formed behind the hook’s eye and then all the way through the big loop.
Step 3 – Pull to tighten
After that, you need to wet the knot before pulling the tag end and tighten the coils down. You’ll need to slide the knot against the eye before clipping the tag end closer.
2. Orvis Knot
This is a type of contest knot in which the terminal tackle knot was renamed after the famous fly fishing retailer known as Orvis. Despite its easy tying, it is strong and highly-deserving of the prestigious name — Orvis. Here’s how to do this knot:
Step 1 – Feeding the line
The first thing you should do is to feed the line through the hook eye. Start from below and wrap it behind the hook’s standing line. Make sure to cross over the standing line before bringing the tie’s end through the formed first loop, emulating the number eight.
Step 2 – Feeding the tag line
Next, you have to feed the tag end from the top of the loop. Start from behind and continue repeating this step to achieve a second pass through your loop.
Step 3 – Moistening of the line
You need to moisten the line and pull the tag end to close your knot. You’ll also need to pull on the hook and standing line along with the tag end to fully tighten your knot down on your hook eye. Once done, you’ll need to trim your tag end.
3. Palomar Knot
Most fishermen agree that if there’s one knot that can be called the best fishing knot, then that would be the Palomar knot. If tied properly, this knot is close to being a 100% perfect knot. Here’s how to do this knot:
Step 1 – Line passing loop
Prepare double lines measuring 6 inches each. Pass them on the loop’s end through the hook’s eye. You can also pass the line’s end through the eye of the hook once and then go double back before passing the line’s end through the eye again if you’re using smaller hook eyes. Make sure to keep six inches doubled line in the hook eye.
Step 2 – Tying the overhand knot
With the use of a hook hanging from the bottom, tie the loose overhand knot. Once done, hold the overhand knot in between your forefinger and thumb before passing the line of the loop over your hook. After that, make sure to slide the loop above the hook eye.
Step 3 – Tightening the knot
To tighten your knot, make sure to pull both the tag end and standing line. After this, you’ll have to clip the tag end close.
4. Davy Knot
Step 1 – Threading of the tippet
The very first step to make a davy knot is to thread four or three inches of the tippet or leader through your hook eye.
Step 2 – Forming an overhand knot
Ahead of your hook, you need to loosely form an overhand knot. A simple one is perfectly fine.
Step 3 – Bringing back the tag end
The next step would require you to bring your tag end back into the loop. In doing this, you have to make sure that it passes through the hook and overhand knot.
Step 4 – Tightening the knot
To tighten your knot, you need to pull the tag end so that it draws the knot up. After that, you’ll need to set your knot on the mainline.
5. Baja Knot
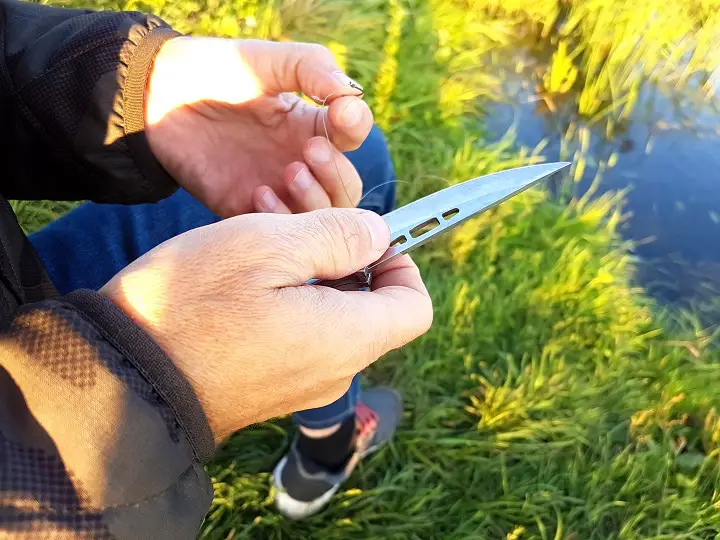
Step 1 – You’ll need to form a loop by several inches from the line’s end
This should be the largest among the three loops that will make up the whole knot. After that, slide through the hook to the loop’s base and allow it to freely hang while you try to try the rest of your knot.
Step 2 – Run the line’s free end across the front of your first loop
Make sure that as you do this, you also run the line behind your running line to start making your second loop. After that, pinch between your forefinger and thumb and pull the tag end until you see the loop getting considerably smaller compared to the first one.
Step 3 – Repeat the last step but make sure that your loop becomes medium-sized
After that, slide your hook to the top of its own loop. Then you’ll need to pass over the hook through the middle loop. When done, also pass your hook under your top loop. Draw up your knot, but not too tightly.
Step 4 – Secure your hook using pliers
Once you’re done securing the hook, you’ll need to pull your standing line and make sure you tighten it all the way down in your heavy mono. Make sure that your knot won’t slip.
6. Pitzen Knot
Step 1 – Start by threading your line through the hook’s eye
After that, you need to loop back your tag under the knot’s standing part.
Step 2 – Then make sure to hook your line around your index finger’s tip
From that position, you need to wind back down your tag around your knot’s parallel lines. You need to make sure that four wraps will be working down back toward the knot’s eye.
Step 3 – Allow the tag’s end to pass through your smaller loop
In doing this, you need to make sure that your smaller loop is being held by your finger.
Step 4 – Tighten your knot down all the way to its standing line
You’ll be needing to lubricate your line and knot. After that, you will also have to slide your knot down all the way to your hook’s eye. You can do this not by pulling the knot’s line but with the use of your fingertips. If you see the knot in the right position in your hook, you need to pull it tightly.
7. Turle Knot
Step 1 – Thread fly into your tippet
In doing so, you need to leave a few inches of your tag end to make a knot. You need to double your line back onto the same line and toward the fly. After that, you’ll need to bring your tag end behind it and over your doubled line, forming a loop. Then pass your tag end twice all the way through the created loop, easily tying your double overhand knot.
Step 2 – Tighten your knot down
As you tighten the knot, you just created, make sure to slip your loop over your fly. Pull your leader over to set your knot tightly against the eye of the hook.
Step 3 Trimming your tag end
After knotting your knot, you need to trim its tag end.
8. Blood Knot
Step 1 – Overlap the line’s end to join them
Once these lines are already joined, proceed by twisting one line around another, making a total of five full turns. Bring your tag end between the two lines.
Step 2 – Repeat
After that, wrap the opposite direction in following the same turn numbers.
Step 3 – Pull the line slowly but in opposite directions
Turn the will wrap and, after the turn, gather them to clip the ends closer to the knot.
9. Surgeon’s Knot
Step 1 – Lay your leader and line on top of each other
Make sure that when they overlap, they do this by several inches. After that, you need to form a loop.
Step 2 – Pass both the tag end and whole leader twice through your loop.
After that, moisten your knot and pull all your four ends tightly.
10. Double Surgeon’s Loop
Step 1 – Start by holding two inches of your line
Make sure that these lines are parallel to each other. After that, the next thing that you have to secure is the looping in the leader. This is done to make sure that your tag end overlaps the knot’s standing part by five inches.
Step 2 – Bend your loop
The direction of such loop bending should be towards the leader. Again, make sure that the ends of the tag overlap the standing part by five inches.
Step 3 – Pinch the loop’s top
With the use of one hand, you have to pinch the loop’s top. Using your other free hand, also pinch the loop’s bottom near your tag end. Since you now have a doubled line area, you can proceed to connect the loose overhand knot.
Step 4 – Pass the loop through
Again, you need to pass the knot’s single loop through for the second time. This time, you’ll need to form a double overhand knot. After that, you need to lube or moisten your knot before tightening them up. To tighten up, pinch the line’s standing part and tag using one hand before pulling in the loop in the opposite direction.
11. Hangman’s Knot
Step 1 – Pass your tag end
But before you can pass the tag end, you need to form an eight shape using your rope or line. Pass your tag end with the eight-shape you just made.
Step 2 – Wrap both the loop and the standing part
With the tag end in one hand, move it and wrap it around your upper loop and the tie’s standing part. Repeat the wrapping three to six more times. After that, you need the tie to pass through the small loop at the top of the tie.
Step 3 – Tighten your knot
To do this, you need to pull the end of the tag while holding the lower loop. After that, your knot is completed.
12. Double Uni Knot
Step 1 – Make sure that you overlap the ends of all the lines that you need to join
Move the line end from your left and double back. Make three to four wraps around the two lines and through the formed loop. To tighten, pull your tag end.
Step 2 – Repeat the step above
This time, you need to make the same wraps unless you’re tying using a braided line. If you do, you’ll also know that a braided fishing line will be easy to set up. In this case, you should increase the number of wraps you make. Pull the tie’s standing lines in opposing directions and allow the knots to slide together.
Step 3 – Clipping the knot’s end
Once step number two is done, you should now proceed to clip the end of the knot. After that, all is complete.
13. Wireline to Mono Knot
Step 1 – Fold about four inches of the back of the wireline
Make sure to bend it in with its back over itself. Do this at the end of the tie line.
Step 2 – Run the monofilament line
Once you’re done running the line, pass it through the tie’s middle bend. After that, wrap the tie once around the bottom of your bend.
Step 3 – Make close turns around the lines
With the use of the monofilament, start making seven turns around the lines on the left and right. After that, pass the monofilament’s loose end above the monofilament’s center strand. Pass them below its wireline. After that, pull snug.
14. Tucked Sheet Bend
Step 1 – Pass the line’s end through the knot’s loop, making a sheet bend knot
After that, allow the end of the line to pass back through the sheet bend’s loop.
Step 2 – Tighten your knot
Once you tighten your knot until snug, the knot is complete.
15. Stopper Knot
Step 1 – Make a small loop
You can make a stopper by first forming a tiny loop at the line’s end. To do this, you’ll need to run the tag end over the standing line.
Step 2 Forming the knot
Now, you’ll need to tie your formed overhand knot around the knot’s standing line. After that, pull the overhand knot tightly while feeding your tag end through your loop or noose end.
Step 3 – Tightening the knot
Pull your tag’s end fully and slide down the knot tightly. After that, pull both the tie ends tightly.
16. Snelling a Hook (Knotless Knot)
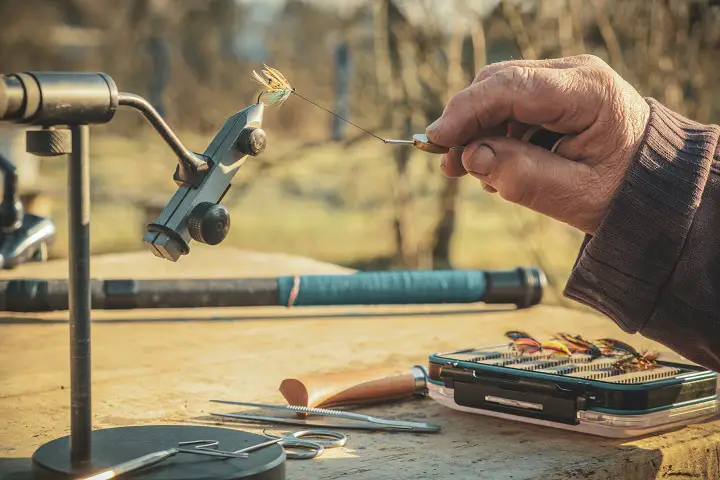
Step 1 – Tying a loop at the line’s end
To hold your bait, you need to tie and make a loop at the line’s end. After that, you’ll have to thread the other line through the hook’s eye. After that, you need to adjust your loop to achieve the desired position.
Step 2 – Make wraps
Double back to make about five to eight wraps around the shank. Make sure to keep turns orderly and neatly. After making the last wrap, run the end through the hook’s eye freely.
Step 3 – Adjust accordingly to achieve the desired position
Once you reach the position that you want, pull the end tightly as you make more wraps until the hook’s eye. You can tie the knot with a small drop of superglue.
17. Dropper Loop
Step 1 – Start forming a single loop
Position the said loop in the line location that you like. Pass the line from one side of the loop, passing through and around the side of your loop. You can make more than five wraps. After that, keep a new loop open.
Step 2 – Push the bottom of the first loop up
As you move it up, make sure that you let it pass a new opening while holding it with your teeth. Moisten the knot before pulling both of its ends in opposite directions.
Step 3 – Tightening the knot
Pull your tag’s end fully and slide down the knot tightly. After that, pull both the tie ends tightly.
18. Spider Hitch Knot
Step 1 – Double over a line while forming a loop
Hold your loop between your forefinger and thumb.
Step 2 – Wrap your doubled line
Move your doubled line around your thumb while looping it five times. If you’re using a braided line, you need to loop it for 15 times.
Step 3 – Pull all ends evenly
You need to moisten your knot before pulling all of its ends in different directions.
19. Arbor Knot
Step 1 – Wrap the line around your spool’s arbor using the line’s end
After that, make an overhand knot with the use of the tag end around your knot’s standing part.
Step 2 – Make a second overhand knot
Make this knot in your line’s tag end or one or two inches away from your first formed overhand knot.
Step 3 – Tightening the knot
You need to pull the knot’s standing part to make it slide through your first overhand knot. Slide them down all the way to spool until you see the second knot jam against your first knot. To complete, you can trim the tag end.
20. San Diego Jam Knot
Step 1 – Move the end of the tag line through the lure or tag line
Allow a heavy lure to pinch hook or hang down between your palm and little finger. Loop your tag end over your index finger to make around seven wraps around your double line all the way down to your hook eye.
Step 2 – Feed your tag end
To do this, allow your tag end to be fed between the double lines found below your last wrap. After that, bring it back to the loop you made with your index finger. You should let the tag end-run the loop before you remove your index finger.
Step 3 – Pull all ends evenly
You need to moisten your knot before pulling all of its ends tightly.
21. Trilene Knot
Step 1 – Pass the line’s end
Make sure that it goes through the hook’s eye or lure twice before creating a small loop behind the hook’s eye.
Step 2 – Make wraps
You can make around five to six wraps by allowing the standing line to pass through the standing lines. Next, start feeding the end of the tag through both of the loops
Step 3 – Pulling the tag end
You need to moisten your knot before pulling all of its ends tightly.
Do’s and Don’ts of Fish Hooks
Do
- Check what’s the best kind of hook you should use for the fish that you want to catch
- Understand the differences between each knot style and what these knots are for
- Try catching a catfish with a strong rod
- Learn how to tie your own fish hooks
- Learn how to fish while also learning how to tie your fish hooks
- Invest in a high-quality fishing gear that will go well with your hook.
- Invest in reels for fly fishing
- Know how to maintain and keep your fish hooks rust and corrosion free
Don’t
- Mindlessly and aimlessly learning how to tie a hook without knowing its specific purpose
- Fish for a trout with a spinning rod
- Put off a fishing experience
- Not use the world’s best rain gear for fishing or a fish finding device for ice fishing
Tying a Fish Hook FAQs
What is the strongest knot for fishing?
According to experienced fishermen and fishing enthusiasts, the strongest fishing knot is the Palomar knot. This may be simple, but it’s a highly effective and very strong knot. This is also highly recommended to be used along with braided lines. You can also tie this knot even when you’re in the dark. That’s how simple it is. Its average unknotted line strength is at 90%, so it’s easily the strongest (but simplest) knot to make.
How do you tie an eyeless hook?
The process involved in tying a snell knot is applicable for eyeless hooks. To hold your bait, you need to tie and make a loop at the line’s end. After that, you’ll have to thread the other line through the hook’s eye. After that, you need to adjust your loop to achieve the desired position.
Double back to make about five to eight wraps around the shank. Make sure to keep turns orderly and neatly. After making the last wrap, run the end through the hook’s eye freely.
Once you reach the position that you want, pull the end tightly as you make more wraps until the hook’s eye. You can tie the knot with a small drop of superglue.
How do you tie a swivel on a hook?
This is how you tie a swivel knot. First, you need to thread the double line’s thread through the swivel’s eye. After that, you need to twist the loop. Once done, fold the loop’s end back into the swivel’s double line. Hold your loop against your double line as you rotate the swivel all the way through the knot opening by three to six times.
How do you tie a fish hook with a hair rig?
First and foremost, you need to thread your hair rig into the hook link material. After that, tie a small-sized loop around your hair rig. Once done, thread on your hook and start whipping the end of your tag. Thread the same tag end all the way through the eye’s back and through the eye front.
How do you tie a fishing hook without a hole?
You can still follow the snelling knot instruction in order to tie a fishing hook without a hole.
Can I use a knot like I use to tie my shoes?
The thing with tying your shoelaces is there are plenty of eyes wherein you can insert and run through the shoelace. This is entirely different in tying a knot for fishing as most of the time; there is only one hook eye. In some cases, there is no hook eye at all. With that said, it’s quite challenging to use a bunny rabbit or loop knot.
Conclusion
There are plenty of fishing hooks and knot-tying techniques. If you want to truly appreciate fishing, you have to appreciate all the related details, too. This means that you’ll need to have the gusto to learn and master these knot-tying techniques as well. If you truly love fishing, you won’t get bored or frustrated in jumping through hoops to learn all these. So, with that said, good luck and hope that you make a great catch!
Photos from: kaninstudio / depositphotos.com, [email protected] / depositphotos.com, binik1 / depositphotos.com, herraez / depositphotos.com and wwwarjag / depositphotos.com.
