Spinner bait are highly popular and bring extra excitement for all anglers, regardless of their expertise. So, if you haven’t tried spinners by now, it is high time you do it!
The first step is to learn how to tie a spinner bait properly. I’ll make it easy for you! All you need to do is keep scrolling, follow the simple steps I’ve provided, and you’ll tie your first spinner fishing lure in no time at all!
Once you master the basics, you can put the information into action and share the excitement of spinner bait fishing. Spinners are versatile and fun; you can use them almost anywhere for any fish species.
For instance, bass fishing enthusiasts always have a selection of spinner baits in their tackle box. Yet, it does not matter whether you’re after a 10-pound bass, 40-pound catfish, or a small panfish – spinnerbait will help you reach your goals and have a memorable fishing day.
So, let’s get down to business and learn how to tie spinner fishing lures!
Table of Content
How To Tie A Spinner Bait To Your Fishing Line: Step-by-Step Instructions

You’ll only need a few minutes to read my instructions and tips on tying up a spinner bait. Make time. You’ll get your reward once you start casting spinning bait and catching more fish.
Get Familiar With All Spinner Bait Components
It is always a good idea to try and learn as much as you can about anything you are planning to do – before you actually do it. Tying fishing bait is no different. Hence, you ought to familiarize yourself with all the parts of the spinner bait before you get to the point of tying it to your fishing line.
Here are the components that make up every spinner lure:
The Blade
The spinner bait blade is a piece of shiny metal that makes this type of lure a success on the water. Its primary purpose is to increase the visibility of the lure by reflecting light.
How does it work?
It’s simple. When a spinning bait gets into the water, the blade shines and glistens to attract the fish. Therefore, it is the main component that makes spinners triumph in murky, dirty water. Some blades even produce a rattling noise to attract more attention in clouded waters, just like chatter bait.
There are four different types of spinner blades to choose from:
- Willow Blades
This type of blade is pointed at both ends. It typically consists of two blades attached to a wire. A willow blade does not produce a lot of movement in the water, nor does it vibrate much. It attracts fish only by reflecting light.
There are also so-called willow-leaf blades that are a bit more narrow and rigid than the regular willow blades. Their design enables them to cut through the water more efficiently. They sink faster, too.
- Colorado Blades
An oval-shaped Colorado blade features a swivel that enables it to spin around in the water. In this way, it not only shines but also creates plenty of movement for fish to notice and bite your bait.
- Indiana Blades
An Indiana blade is a blend of willow and Colorado blade. It is shaped like an oval but has a point on one end.
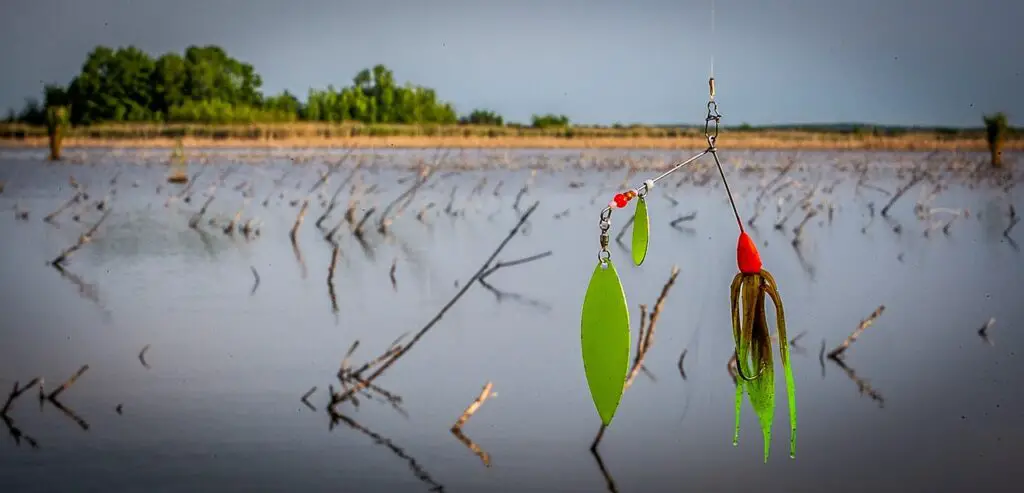
The Wire
The spinnerbait wireframe is a crucial component that holds everything together and helps the lure cut through the water more efficiently. One end of the wire holds a blade, while the other end connects to a jig head.
The Eye
A spinnerbait eye serves to connect the lure to a fishing line. The eyes are typically shaped as a letter R, rather than loops. Modern spinning bait sometimes feature complete circles to ensure a more secure connection with the line.
The Jig
A jig represents the head of the lure. It attaches to the wireframe and provides weight and balance.
Spinnerbait are not designed for diving deep into the water. Hence, the purpose of the jig is to enable the lure to sink just slightly beneath the water surface and come back up as you retrieve it.
The Hook
Most spinnerbait hooks are regular straight hooks with a barb at their end. Some spinnerbait feature a skirted jig that covers the hook and prevents it from getting tangled into the weeds.
Extra Advice: If you want to spice up your spinner and make it more attractive for fish, try adding a bit of power bait onto the hook. The scent will get you more attention and thus more fish, too. It works wonders when bass fishing!
Locate The Spinnerbait Eye And Pull Your Line Through It

Now that you have mastered the anatomy of the spinnerbait, it is time to put it to good use. First, you need to locate the eye on your spinner and pull enough fishing line through it to tie a knot. Typically, 6 to 12 inches of fishing line should suffice.
The Best Knot To Secure The Line
Not just any loop knot will do for spinners. You must learn the proper knots for a secure line tie.
There are a few possible knots for you to choose from depending on the type of fishing line you are using and the size of your spinner bait. Here are the best combos:
- If you opt for a monofilament line, tie it in a Clinch knot.
- If you use a fluoro or braided line with a small spinnerbait, tie a Palomar knot or a Trilene knot.
- If you use a fluoro or braided line with a large spinnerbait, tie a San Diego Jam knot.
Find more about these knots here.
Time To Test Your Skills
Reading is not nearly as exciting as fishing. So, what are you waiting for? Go to your favorite fishing hole and put all the information you have just read into action. The sooner, the better!
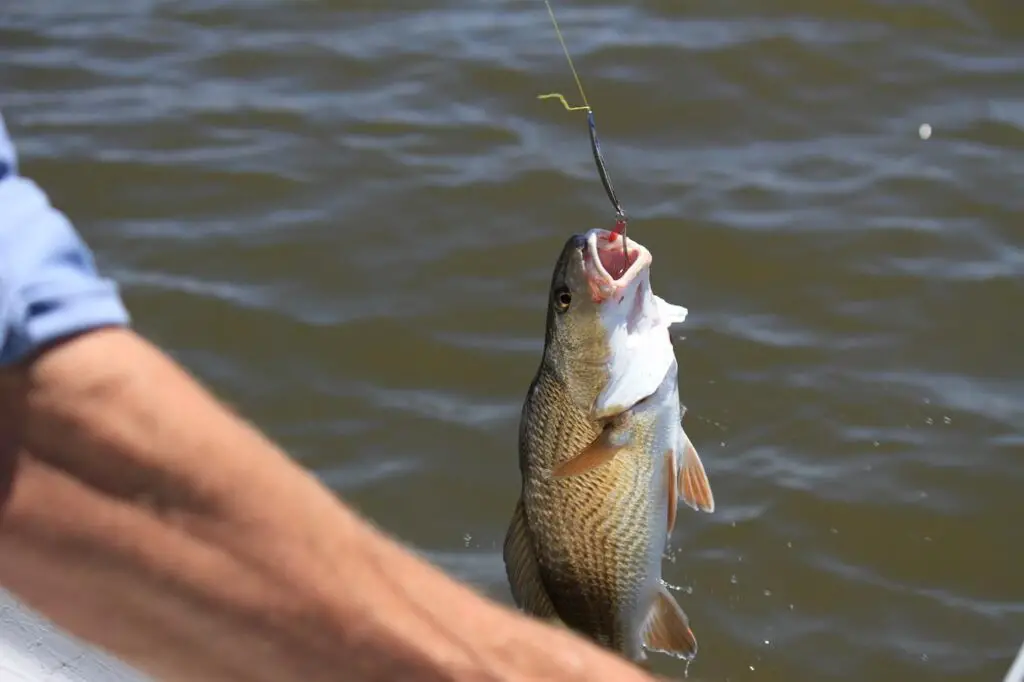
Now that you know how to tie a spinner, you can target a variety of species, such as walleye, crappie, or largemouth bass. The flash and vibration these lures produce will help you catch fish and provide more fun along the way!
Just make sure you perfect your knot-tying skills to secure your spinnerbait adequately and avoid break-offs. Good luck!
If you have any questions or helpful fishing tips about tying a spinnerbait, please share them with the rest of us! Leave a comment below, and I’ll get back to you.